Stage 2 Apps
The best way to run an MDI apps server is using the MDI Desktop on your PC, which allows you to run the server locally or on a remote HPC server via SSH.
Alternatively, you may be instructed to point your web browser at a public server installation created by your developer or system administrator.
Once you have opened the MDI apps interface in the Desktop or a web browser, load a data package into it that was created by an appropriate Stage 1 Pipeline. Data package files end in mdi.package.zip.
Every app will be different, but here are a few common usage patterns.
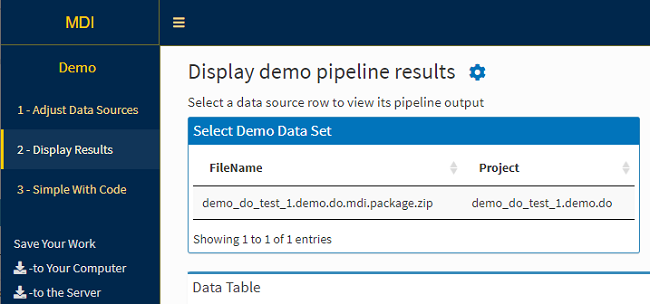
App analysis steps
MDI apps use a stepwise execution according to the tabs on the left. You usually want to work through them in order, but can always go back.
Interactive tables and plots
Many tables and plots rendered in an app page will be interactive. Click on table row or sweep over image areas to see what happens (and be sure to read the app’s documentation for detailed instructions).
Settings (gear) and other useful icons
Apps often have features “hiding” behind various icons, like the settings gear icon seen above. Click away, you can’t break anything. The point of Stage 2 Apps is to be interactive, so interact!
Save bookmark files!!
A critical feature of the MDI is the ability to save the state of the app to reload later. While the initial incoming data files are called ‘packages’, work within an app is saved as a ‘bookmark’ using the link on the left of page.
Bookmark files end with ‘.mdi’. After saving one, you simply load it at the starting page instead of a data package to pick up where you left off when you saved the file.
Bookmarks are extremely useful for preserving the state of an app that generated a figure for a manuscript, etc.
Multiple parallel analyses
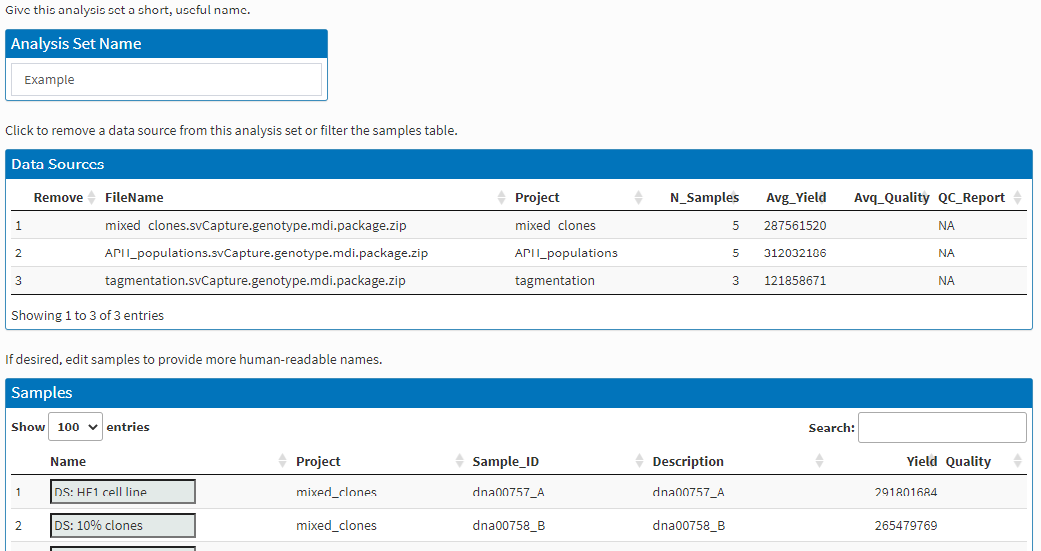
Many MDI apps allow you to load multiple data packages at once using the launcher interface:
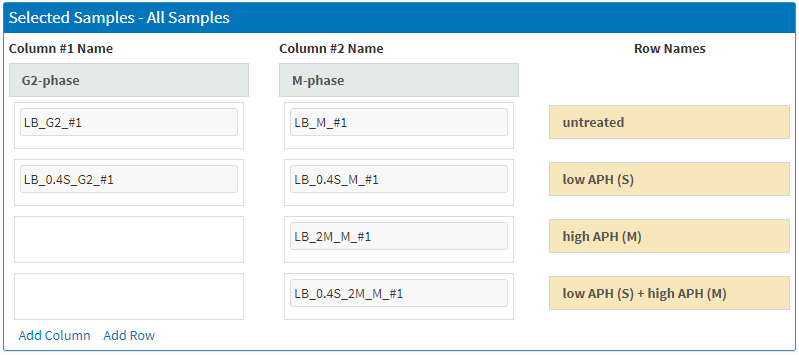
and to use the sample assignment grid and other tools to create comparisons within and between data sets: